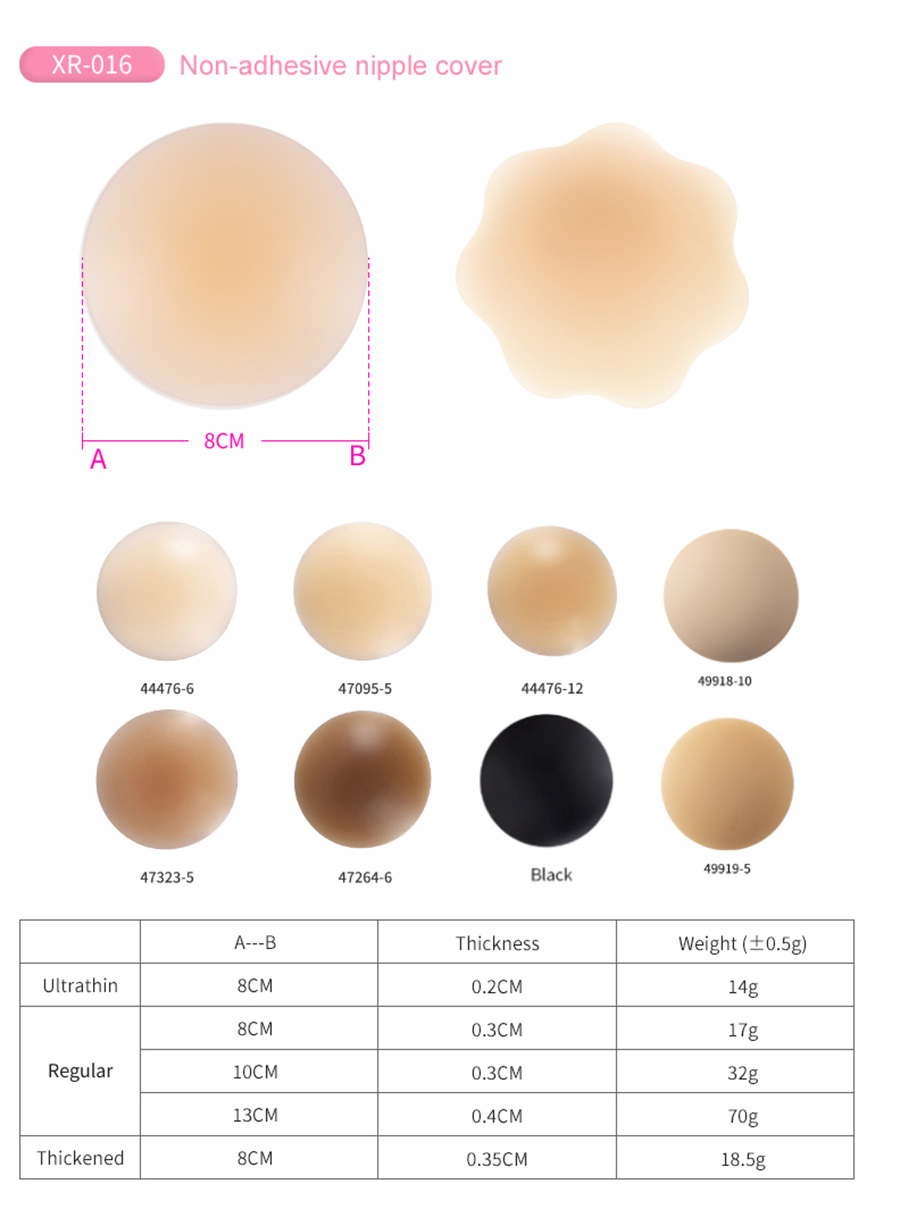
A pre-shipment report that says “passed” does not protect the pallet when it reaches your warehouse. Incoming inspection is where you turn a supplier’s claim into evidence you can hold, return, or bill, and for adhesive intimates it has to be specific to the material. A silicone cup and its pressure-sensitive face fail in narrow, repeatable ways, so the checklist that works for a sewn garment leaves the costly defects unchecked.
This guide is for the buyer or receiving lead who owns the dock, not the factory floor. What follows is how to position your inspection, size your sample, classify defects that belong to this family, set up the station, and build a claim the supplier cannot wave away.

Where Incoming Inspection Sits in the Chain
Adhesive intimates move through three quality gates. The pre-production sample gate fixes what the product should be. The pre-shipment third-party gate fixes whether the bulk lot met that before it left the origin. Your incoming gate fixes whether it still meets it after transit, and it is the only one you personally control.
Confusing these gates starts most disputes. A characteristic frozen at the sample stage cannot be relitigated at your dock, so the sample you signed off becomes the reference your inspector compares against; what to lock before bulk is set out in how to approve adhesive bra samples. Factory in-process checks, campionamento, and contamination control are the supplier’s job, treated in how to run quality control on silicone bras.
If you commission the pre-shipment gate from a third party, know what its report is worth. The definition of an accredited conformity assessment body, and the rule that the tester must not be the party that made the product, is set out in 16 CFR Part 1112, requirements for third party conformity assessment bodies. Apply the same logic to unregulated goods: who pays the lab, and who owns the tested sample, decides how much weight that report carries against your own count.
Sizing Your Own Plan Instead of Copying a Template
Do not import a generic severity scheme and hope it fits. The real decision at the dock is how tight your acceptance level should be, and that depends on order size, the SKU’s risk, and how generous your return policy is. The tier meanings and the sampling-and-acceptance decision belong to the receiving-evaluation reference in how to evaluate silicone nipple cover quality; this section chooses your plan, not a copied figure.
Reason from consequence. A low-risk repeat SKU with a tight return window tolerates a general level and a looser number, because a few cosmetic misses will not trigger returns. A first-order SKU, a new adhesive lot, or anything sold into a no-questions-return channel earns a tighter level, a larger sample, and a stricter number. Third-party firms publish levels and counts as market practice, not a requirement.

A Defect Taxonomy Built for Adhesive Intimates
General garment lists miss the failure modes behind many silicone and pressure-sensitive adhesive returns. The four families below cover what most often reaches your dock, and the table maps each to how it appears and what it signals. The coverage SKUs sit under the silicone nipple cover category and the bonded bras under the categoria reggiseno adesivo; the same families govern both.
| Defect family | Representative defects | How it shows at intake | Primary risk |
|---|---|---|---|
| Adhesive face | Edge lift (skid), adhesive skip, foreign inclusion, liner not seated | Raking light shows a lifted corner; a matte patch where coating is missing; specks trapped in the tacky layer | Retention failure and skin-visible returns |
| Silicone body | Dust pin, edge flash, micro-crack, thickness variation | Backlit points and seams; a hairline that opens under flex; caliper spread across the face | Visible under sheer fabric; crack growth in wear |
| Webbing and hardware | Band-width variance, plating loss, hook open/close failure | Tape-measure spread beyond tolerance; a dull or flaking finish; a closure that will not latch | Fit complaint and hardware failure on first use |
| Confezione | Single-pouch tear, blister or card misregistration | A seal breach exposing the adhesive; a printed card offset from the product window | Contaminated unit, un-ticketable retail presentation |
Where a judgment needs a measured baseline, such as the nominal face thickness you signed off at sampling, and that figure is not yet documented, mark it as [待确认] at the station rather than estimating it. A call tied to no frozen reference is not evidence, and the supplier will reject it.
Sorting Each Finding Into the Right Severity Bucket
Naming a defect is only half the call; the method that matters is placing an adhesive finding into a tier consistently, so two inspectors on one lot reach the same count. The tier meanings are fixed in the receiving-evaluation reference and are not repeated here.
Ask first whether the defect stops the piece from doing its job: an adhesive skip large enough to leave the edge down, a hook that will not latch, or a micro-crack that opens on flex are functional, so they sit in the highest tier however small they look. A dust pin that only shows under backlight is judged on appearance, and there your channel sets the cut line, because the same flash acceptable on a value multipack is a return reason on a single pair sold against sheer clothing. Record the cut line you applied so a borderline call can be defended later.
Setting Up the Inspection Station
Most adhesive defects are invisible under flat warehouse lighting, so the station is the part of the SOP that pays for itself. Set a fixed light at a low raking angle so a lifted edge casts a shadow a top light would erase, and add one backlit position to read dust pins and micro-cracks through the silicone. Keep the liner on until the moment of viewing, and sample across more than one carton so a defect trapped in one production segment is not missed.
Keep the dock actions to what a trained receiver can repeat: a caliper at three or four points for thickness spread, a controlled liner peel to confirm the adhesive sits to the edge, a single hook open-and-close, and a light flex to see whether a hairline opens. These are screening moves, not measurements. Do not turn the dock into a test lab; formal peel and adhesion methods, apparatus, and the standard reference table are the property of silicone bra adhesion testing standards. Send a disputed unit to a proper test.
Disposition Paths: Rework, Hold, or Scrap
A defect count only matters if it maps to an action, and here the decision is economic, not about how serious a finding looks. Rework the unit when the base is sound and the fault sits on top of it: a shifted liner can be re-seated and a bad pouch re-bagged. Scrap when the fault is in the material itself, because a micro-crack or a real adhesive skip cannot be reworked into something you would sell. The middle path is a hold with a conditional release: when a lot lands just outside your number, clear the passing cartons, quarantine the failing segment, and judge that segment by its own count rather than the lot average.
| Finding at intake | Path | Release or scrap condition | Evidence to attach |
|---|---|---|---|
| Liner not seated, torn pouch, card misregistration | Rework at dock | Release once the face is clean, the liner is seated, and a fresh pouch or card is applied | Before-and-after photos, count of reworked units |
| Edge lift or adhesive skip that fails retention | Scrap or reject the segment | No rework is defensible against the approved sample; hold only to document the claim | Raking-light photo, carton and lot markings, sample reference |
| Dust pin or flash within your cosmetic cut line | Accept and route by SKU | Release to a channel whose return policy tolerates it; withhold from a bare-skin placement | Backlit photo, the cut line you applied |
| Lot just outside the acceptance number | Hold, then split | Re-check per carton; clear the passing segments, judge the failing segment on its own count | Per-segment counts, quarantine labels, re-check sheet |

Claims, Evidence, and Closing the Supplier Loop
A claim succeeds when the evidence is specific enough that a general assurance cannot answer it. For every reject you intend to bill, capture the defect on the unit, the lot and carton markings in the same frame, and the approved sample beside it; a count sheet showing the sample size, the level you chose, and the number found turns an opinion into a documented deviation. Frame the ask in tiers: separate the units to replace, the rework you did and are charging for, and the segment you scrapped. Keep it inside the notice window your trading terms set; those terms are set before ordering in how to import silicone nipple covers from China, and a claim filed late is usually denied.
Close the loop forward, not just backward: send the defect family, the tier, and the count, ask for the corrective action against the step that produced it, then feed the accepted and rejected counts back into the plan you sized at the top. If you want the receiving gate run to a documented standard on your behalf, that capability is described on our controllo di qualità page.
Domande frequenti
What AQL level should I use for silicone nipple covers?
No single level is correct for this product, and published acceptance numbers are market practice rather than a requirement. Choose tighter when the SKU is new, the adhesive lot is unproven, or your channel runs a generous return policy; choose a general level for a proven repeat with a tight window. The tier reference and its figures are the evaluation guide linked earlier; treat them as a default you adjust against your own return data.
What counts as a critical defect on adhesive products?
Judge it by function, not size. A finding that stops the piece from doing its job, such as an adhesive skip large enough to leave the edge down, a hook that will not latch, or a micro-crack that opens on flex, sits in the highest tier even when it looks small. Anything that only shows under backlight and never reads through fabric is a cosmetic matter whose cut line you set by SKU and channel.
Should I inspect at the factory or when goods arrive?
Both, but for different reasons, and they are not interchangeable. The origin gate confirms the bulk lot matched the approved sample before transit; your incoming gate confirms it still matches after transit and gives you evidence you own. Factory in-process checks are the supplier’s responsibility, covered in the quality-control guide referenced above, so do not assume they will be re-run for you.
How many pieces do I need to check?
Size the pull from lot quantity, SKU risk, and return policy rather than a fixed number, and draw from more than one carton so a defect trapped in one segment is not missed. Sample-size figures published as general practice are a starting default, not a mandate; when a lot lands just outside your number, re-check per carton and judge the failing segment on its own count.
Pensieri finali
Incoming inspection earns its keep only when it is specific to the material you receive. A defect taxonomy for this family, a severity method you apply consistently, a raking-light station, and a disposition table that maps findings to actions catch the returns a generic garment checklist lets through.
Run it as one link in a chain you wrote before ordering: lock the characteristics at the sample gate, let the origin gate confirm them, and let your dock confirm them after transit with evidence the supplier cannot wave away. Then feed the counts back, so tightening and relaxing is a decision made on your own data rather than the last passing report.